
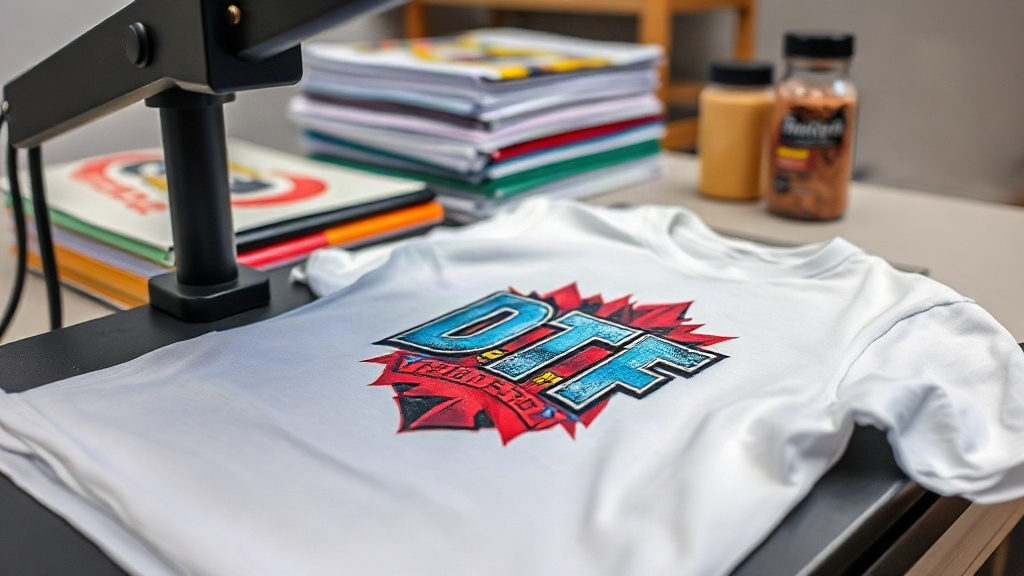
If you've been exploring custom apparel, you've likely heard about DTF Transfers. They're revolutionizing the way small businesses and hobbyists create vibrant, full-color designs on everything from t-shirts to tote bags. Unlike traditional screen printing or vinyl, DTF transfers offer a unique blend of flexibility and durability that's hard to beat. In this guide, I'll walk you through everything you need to know to get started, sharing insights from my own experience working with this technology.
What Are DTF Transfers?
DTF stands for Direct to Film. It's a printing method where your design is printed onto a special film, coated with a adhesive powder, and then heat-pressed onto fabric. The result is a soft, stretchable print that bonds permanently to the material. The magic lies in the film: it allows for intricate details and gradients that other methods struggle with, all without the setup costs of screen printing.
Why Choose DTF Transfers Over Other Methods?
You might be wondering how DTF compares to vinyl or DTG. Here's the thing: DTF transfers shine when you need complex, multi-color designs without breaking the bank. They work on a wide range of fabrics, including cotton, polyester, and blends, and they don't require pre-treatment like DTG does. Plus, the prints are incredibly durable. I've washed shirts with DTF prints dozens of times, and they still look brand new.
The DTF Transfer Process Step by Step
Understanding the process helps you troubleshoot and get better results. Here's a breakdown of each stage.
1. Designing Your Artwork
Start with high-resolution artwork. Vector files are ideal, but 300 DPI PNGs work well too. Remember that DTF prints white ink as a base, so your design should have a transparent background. If you're using text, avoid very thin fonts that might not hold up. I learned this the hard way when a delicate script font turned into a blurry mess after pressing.
2. Printing and Powdering
The design is printed onto a PET film using specialized DTF inks. While still wet, a thermoplastic powder is applied. This powder is what makes the transfer adhesive. After shaking off the excess, the film goes through a curing oven or heat press to melt the powder. This step is crucial: under-curing leads to wash-off, over-curing can cause the print to crack.
3. Heat Press Application
Once you have your transfer, it's time to apply it. Set your heat press to 300-325°F (150-160°C) with medium pressure. Pre-press the garment for a few seconds to remove moisture. Place the transfer on the fabric, cover with a protective sheet, and press for 10-15 seconds. Let it cool completely before peeling the film. If you peel too early, the design might stretch or lift.
Common Mistakes and How to Avoid Them
Even seasoned pros make mistakes. Here are the most common pitfalls and how to steer clear.
- Insufficient pressure: If the transfer doesn't adhere evenly, increase pressure. Uneven pressure can cause parts of the design to wash off.
- Wrong temperature: Too low, and the adhesive won't activate; too high, and you'll scorch the fabric or the film. Always test with a scrap piece.
- Peeling too soon: Patience is key. Wait until the transfer is completely cool. This ensures the adhesive has set properly.
Choosing the Right Fabric for DTF Transfers
DTF transfers are versatile, but not all fabrics are equal. Cotton and cotton blends yield the best results because the fibers allow for excellent adhesion. Polyester can work, but you might need to lower the temperature to avoid dye migration. For stretchy fabrics like spandex, DTF is a great choice because the print stretches with the material. Avoid rough textures like burlap; the transfer won't bond well.
DTF Transfers vs. Other Printing Methods
Let's compare DTF to the competition. Screen printing is cost-effective for large orders but impractical for small batches or complex designs. Vinyl is great for simple shapes but can't handle gradients or fine details. DTG is excellent for cotton but requires pre-treatment and can be finicky on dark shirts. DTF combines the best of all worlds: no minimums, vibrant colors on any fabric, and impressive durability.
Tips for Long-Lasting Prints
To ensure your DTF transfers stand the test of time, follow these care instructions:
- Wash inside out in cold water.
- Avoid fabric softener and bleach.
- Tumble dry low or hang dry.
- Iron inside out, never directly on the print.
Following these simple steps will keep your prints looking fresh for years.
Frequently Asked Questions About DTF Transfers
Can I use DTF transfers on dark fabrics?
Absolutely. DTF transfers include a white ink base that makes colors pop on dark backgrounds. This is one of their biggest advantages over DTG printing.
How do I store unused DTF transfers?
Keep them in a cool, dry place away from direct sunlight. Store them flat or rolled, not folded, to prevent creases that can affect the print.
What's the shelf life of DTF transfers?
When stored properly, DTF transfers can last up to six months. After that, the adhesive may start to degrade, so it's best to use them within that timeframe.
Do I need a special printer for DTF?
Yes, you need a DTF printer that uses DTF inks and a powder shaker. However, if you're not ready to invest, many companies sell ready-to-press DTF transfers that you can order online.
Can I layer DTF transfers?
Layering is possible but tricky. You'll need to press each layer separately, and the bottom layers might not adhere well. It's usually better to design your artwork as a single transfer.
DTF transfers have opened up a world of possibilities for custom apparel. Whether you're a small business owner or a DIY enthusiast, mastering this technique can elevate your creations. With the right tools and a bit of practice, you'll be producing professional-quality prints in no time.