
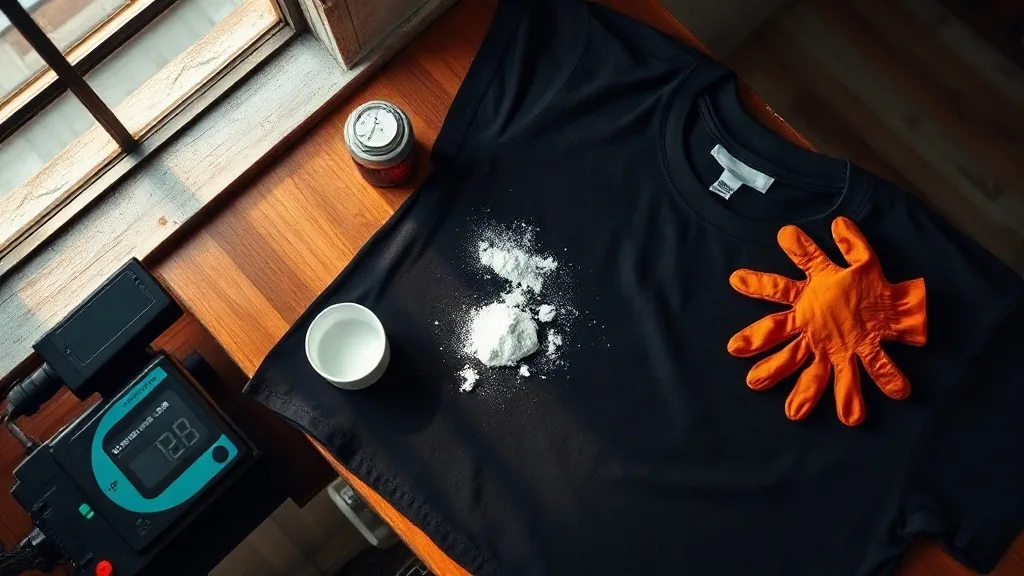
Most people who buy their first roll of DTF film expect the hard part to be the printer. In practice, the printer is the easy bit. The variables that decide whether a shirt survives twenty washes are the film you loaded, how much powder you shook on, and whether your press was actually at the temperature your display claimed. This guide is written for the person running a two-press shop who cannot afford to burn a dozen blanks testing settings, and it focuses on the details that only show up after the first few hundred prints.
If you are still deciding where to buy supplies, start with a supplier who publishes film and powder specs rather than vague claims. A good dtf transfers workflow begins long before the design lands in your rip software, and the material choices you make in week one will follow you through every order after that.
What DTF Actually Is, Stripped of the Marketing
Direct-to-film printing is a two-part system. A printer lays down pigment ink onto a coated PET film, then a layer of hot-melt adhesive powder is applied to the wet ink and cured. The result is a transfer sheet you can store, ship, and press onto almost any fabric. The dtf process differs from vinyl and screen printing in one important way: the adhesive is the product. Ink gives you color, but powder gives you durability.
That distinction matters because most failures blamed on ink are actually powder or press failures. If a print cracks after a few washes, the ink did not fail. The adhesive layer either under-cured, over-cured, or was starved of pressure during transfer. Understanding this saves you from chasing the wrong variable for weeks.
Why shops adopt it so quickly
The appeal is not print quality alone, though modern pigment inks are excellent. It is the material flexibility. Cotton, polyester, blends, canvas totes, and even some nylon jackets can take a DTF transfer with the right settings. You do not need a different setup for each garment type, and you do not need to keep separate inventory for light and dark shirts. For a small shop with limited storage, that alone can justify the switch.
Film Choice: The Decision You Cannot Undo Later
Film comes in cold-peel and hot-peel variants, and the difference is not cosmetic. Cold-peel film requires the sheet to cool completely before you remove the carrier. Hot-peel film lets you pull the carrier while the transfer is still warm. Cold-peel generally gives sharper fine detail and better registration on small text. Hot-peel is faster on high-volume runs, which matters when you are pressing fifty shirts in an afternoon.
Thickness matters too. Thin films conform better to seams, zippers, and curved areas like cap fronts. Thick films are more forgiving during transfer because they resist stretching, but they can feel stiff on lightweight tri-blends. Keep at least two film types on the shelf: a thin cold-peel for detail work and a standard film for bulk orders.
Storage quietly ruins more film than anything else
Coated film absorbs moisture. A roll left open in a humid room will print with pinholes and uneven powder adhesion, and the problem will look like a printer fault. Store film sealed, upright, and away from exterior walls. If your shop has no climate control, buy smaller rolls and rotate stock faster rather than saving money on bulk.
Powder, Cure, and the Numbers That Matter
Powder application is where beginners overdo it. You want a thin, even coat that saturates the wet ink without leaving loose granules on the film. Excess powder gets trapped in the transfer and turns into a rough, plasticky surface that cracks along flex lines. Shake from about twenty centimeters, tap off the excess, and check the sheet at an angle under good light.
Curing temperature depends on your powder's spec sheet, and you should follow it rather than a forum post. Most hot-melt powders sit in a fairly narrow window. Under-cure and the adhesive never fully melts, so the transfer peels at the corners. Over-cure and the adhesive crystallizes, which feels fine on day one and fails at wash five.
Press settings worth writing down
- Pressure: medium to firm, enough that you can see the garment texture through the transfer
- Temperature: per your transfer supplier, typically in the 150 to 160 Celsius range
- Time: short presses, often 8 to 15 seconds, with a second press after carrier removal
- Peel: follow the film type, cold or hot, without improvising
Record every combination that works on a card taped to the press. New staff will thank you, and you will stop re-testing the same variables every season.
Testing Like You Mean It
A peel test straight off the press tells you almost nothing. The real test is a wash cycle. Press a sample onto the same fabric you plan to sell, then run it through a home wash at 40 degrees, inside out, with a normal detergent. Repeat three times and inspect the edges. Lifting corners after three washes mean your pressure or cure time is off. Cracking across the design means too much powder or too little pressure.
Keep a log with the date, fabric, film type, powder, press settings, and result. Six months of that log turns guesswork into a reference you can hand to a new hire. Shops that skip this step end up relearning the same lessons every time a supplier changes.
Where Customers Search, and What They Expect
A growing share of your inquiries will come from people typing dtf transfers near me into their phone while standing in a craft store. They are not comparing technical specs. They want to know whether you can turn a design around in a day, whether you handle small quantities, and whether the print will survive their customer's washing machine. Answer those three questions on your site and in your first reply, and you will close more of those leads than a competitor with better equipment.
Small-batch orders are the natural fit here. A dozen shirts with six different designs is painful on a screen press and trivial on DTF. Price accordingly, with a clear minimum and a per-piece rate that rewards volume without punishing the one-off buyer.
Common Failures and Their Actual Causes
The transfer will not release from the carrier
Usually the sheet was pressed too cool, or the carrier was peeled at the wrong temperature for the film type. Check your platen temperature with an infrared gun rather than trusting the display.
Edges lift after washing
Pressure is the first suspect, then cure. A worn press platen or a silicone pad that has gone flat will produce uneven pressure across the design, and the edges are always the first to fail.
Colors look dull on dark garments
You need a white ink layer under the color, and that white layer needs to be thick enough to block the fabric without turning stiff. Two thin white passes usually beat one heavy pass.
Fine text fills in
This is often a film or resolution issue rather than a press issue. Switch to a thinner cold-peel film, slow the print head slightly, and check that your rip is not applying heavy ink limits.
Frequently Asked Questions
Can I press DTF transfers onto 100 percent polyester without scorching it?
Yes, but drop the temperature and add time rather than the other way around. Polyester is sensitive to heat, so use a pressing pillow, a lower setting within your transfer supplier's range, and a cover sheet. Test on an inside hem before committing a full order.
How long can I store printed transfers before they go bad?
Properly cured transfers stored flat, dry, and away from direct sunlight usually stay usable for several months. Humidity is the main enemy. If a sheet feels tacky or the powder looks clumped, re-powder and re-cure before pressing it onto a customer's garment.
Do I need a special printer, or can I convert an existing one?
DTF requires a printer set up for pigment ink with a white channel, plus a powder station and a curing oven or heat press. Converting a standard CMYK printer is possible with a kit, but the white ink circulation is the part that demands daily attention. If you cannot commit to daily maintenance, buy a machine designed for the job.
What is the minimum order that makes DTF worth it for a customer?
There is no technical minimum, which is the point. A single shirt is viable. The practical minimum is set by your time: setup, powder, and press for one piece costs nearly as much in labor as for ten. Many shops set a minimum of five to ten pieces to keep small orders profitable.
Does DTF work on cotton canvas bags and totes?
It does, and it holds up well because canvas tolerates higher press temperatures. Use firm pressure and expect a slightly textured finish where the weave shows through. Pre-press the bag for a few seconds to flatten the surface before transferring.