
Most print shops can tell you what a roll of film costs. Far fewer can tell you what a single transfer pulled from a DTF Gangsheet actually costs them once ink, powder, labor and failed prints are folded in. That gap is where margins quietly disappear. If you price by gut feel, you are either leaving money on the table or winning jobs you should have declined.
This guide walks through the real economics of a gangsheet, from the cost of a square inch of film to the way a badly nested sheet can double your powder consumption. No formulas you cannot use on a shop floor, just the numbers that matter and how to apply them.
Start With the Cost of One Square Inch
Every pricing decision in DTF comes back to area. You are not selling a design, you are selling film, ink and powder measured in square inches, plus the time to handle it. Once you know your cost per square inch, everything else becomes arithmetic.
What goes into the per-inch figure
Break your costs into four buckets and update them whenever a supplier changes prices.
- Film: Divide the roll price by its total area. A 13 inch by 328 foot roll is roughly 4,264 square inches of usable film before you account for trim.
- Ink: Estimate coverage per square inch from your RIP's ink report rather than guessing. White ink layers usually dominate the total.
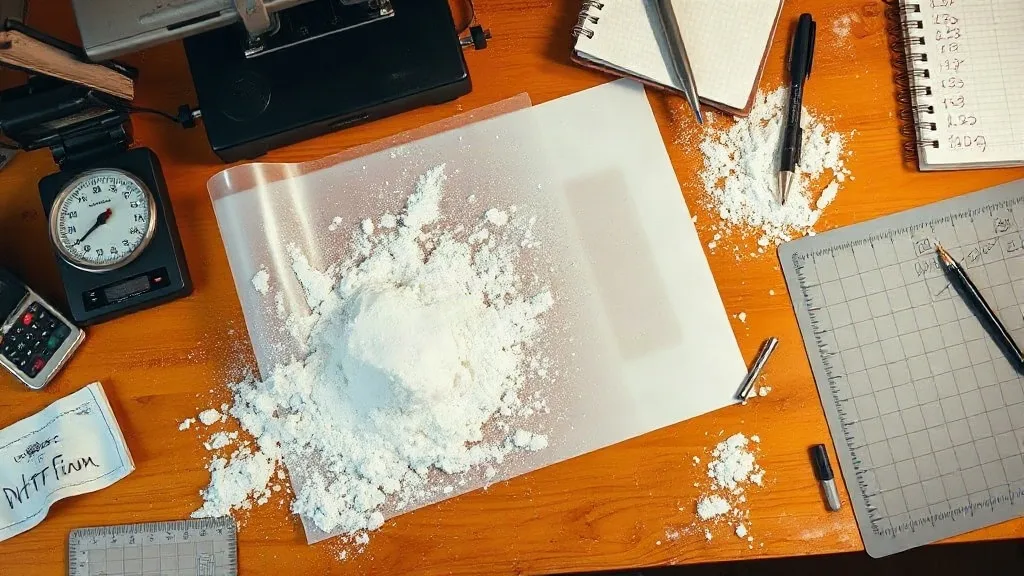
- Powder: Adhesive is consumed by area, not by design count, so a sheet full of tiny logos can use more powder per print than one large graphic.
- Labor: Include file prep, printing supervision, powdering, curing and cutting. Even fifteen minutes of handling has a cost.
Add those four together and divide by the usable area of a sheet. That number, usually somewhere between a few cents and a couple of dimes per square inch depending on your equipment, is your floor. Anything you charge below it is a loss you are choosing to take.
Why usable area matters more than roll size
A roll is not a sheet. Margins, registration marks and the trim you lose at the edges all eat into the area you can actually sell. Shops that price off the full roll area consistently undercharge, because they are paying for film they throw away. Measure a finished sheet once, note the real sellable area, and use that figure from then on.
The Hidden Costs That Quietly Eat Your Margin
Material costs are visible. The costs that hurt are the ones nobody puts on an invoice.
Rework and misprints
Every failed transfer is a double loss: you paid for the materials and you did not get paid for the print. Track your reprint rate for a month. If it sits above five percent, the problem is usually file prep or nesting, not the printer. Fixing a recurring file error is worth more than any supplier discount.
Powder waste and over-application
Adhesive that falls off the film during shaking is money on the shop floor. Shops that switch to a controlled powdering method, with a recovery tray and consistent shake timing, often cut adhesive use noticeably without changing the feel of the finished transfer. Weigh a batch of powder before and after a week of production and you will see the difference in real terms.
Dead space on the sheet
Empty film is the most common silent cost. A sheet that is seventy percent full still costs you one hundred percent of its materials. This is where thoughtful nesting pays for itself, and it is the reason two shops with identical equipment can have very different profit per sheet.
How Nesting Changes Your Cost Per Print
Nesting is not just an aesthetic exercise. It directly determines how many sellable prints come off a single sheet, and therefore your cost per unit.
Consider two shops printing the same order of forty small chest logos. Shop A places them in a loose grid with generous gaps and fills sixty percent of the sheet. Shop B rotates and clusters them to fill eighty-five percent. Shop B gets roughly forty percent more sellable output from the same film, ink and powder, and their labor per print drops because they handle fewer sheets.
That difference compounds across a month of production. The practical takeaway is simple: before you send a sheet to print, look at the empty space and ask whether a rotation or a regroup would recover it. Most of the time it will.
When tight nesting backfires
There is a limit. Designs placed too close together make cutting slow and increase the risk of nicking a neighboring print. Leave enough gutter to cut cleanly and to handle the transfer without touching wet adhesive. The goal is efficiency, not maximum density at the cost of rework.
Pricing Transfers Without Underselling Yourself
Once you know your cost per square inch and your real output per sheet, pricing becomes a decision rather than a guess. A workable structure has three layers.
- Cost recovery: your per-inch material and labor cost, multiplied by the area of the design.
- Overhead and equipment: a percentage that covers printer depreciation, maintenance, rent and software.
- Margin: the profit you need to stay in business and reinvest.
Many shops skip the second layer entirely, then wonder why a busy month produces no cash. Printers wear out. A shaker or oven has a lifespan. If your price does not fund replacement, you are borrowing from your future.
For small orders, apply a minimum charge. A single three inch logo still consumes setup time, a share of a sheet and handling. Charging by area alone on tiny jobs is a reliable way to lose money on your busiest customers.
A quick sanity check on any quote
Before you send a price, run three questions. Does this cover materials at my current supplier rates? Does it cover the time I will actually spend, not the time I wish I would spend? And would I still be comfortable with this price if the job needed one reprint? If the answer to any of those is no, the price is wrong.
Keeping Your Numbers Current
Costs drift. Film prices move, ink yields change with the season and your reprint rate shifts as your team learns. A pricing model built once and never revisited will be wrong within a quarter.
Set a short review cadence, monthly if you are busy, quarterly if you are not. Recalculate your per-inch cost, check your average sheet fill rate and look at your reprint percentage. Three numbers, fifteen minutes, and you will catch margin leaks before they become a bad year.
Shops that treat the DTF Gangsheet as a costed production unit rather than a file to send to the printer consistently price better, waste less and keep more of what they earn. The equipment is the same. The difference is knowing the numbers.
Frequently Asked Questions
How do I calculate cost per square inch for a DTF gangsheet?
Add your film, ink, powder and labor costs for one sheet, then divide by the sellable area of that sheet after margins and trim. Update the figure whenever a supplier price or your reprint rate changes.
Is it cheaper to print one large gangsheet or several smaller ones?
Usually one well-filled large sheet, because setup and handling time are spread across more sellable area. The advantage disappears if the large sheet sits half empty or if a single error ruins the whole run, so balance fill rate against risk.
What reprint rate should a DTF shop aim for?
Under five percent is a reasonable target for a shop with solid file prep and nesting habits. Above that, investigate the source before blaming materials, since most reprints trace back to resolution, spacing or color setup errors.
Should I charge extra for small orders?
Yes, in the form of a minimum charge. Tiny designs still consume setup time, a share of a sheet and handling, so area-based pricing alone will undercharge your smallest jobs.
How often should I review my DTF pricing?
Monthly if you are producing daily, quarterly at minimum. Recheck your per-inch cost, average sheet fill rate and reprint percentage each time to catch margin drift early.