DTF transfers have transformed garment customization by making vibrant, durable designs accessible to hobbyists and small businesses. This beginner-friendly guide explains how DTF printing works, including direct-to-film transfers, from design prep to the final heat press application. They offer full-color results on cotton, blends, and even dark fabrics, with a straightforward workflow that remains approachable for newcomers. Key materials include DTF film, adhesive powder, inks, and a reliable heat press, while heat press tips for DTF help optimize adhesion and durability. As you compare DTF vs DTG and other methods, you’ll weigh costs, fabric variety, and wash durability to decide the best approach.
From another angle, the film-based garment decoration method relies on a PET transfer film and an adhesive powder to move vibrant designs onto fabric through heat. Often called direct-to-film printing, it offers a flexible pathway from digital artwork to a wearable product while remaining approachable for beginners and crafters. Using Latent Semantic Indexing principles, related terms such as digital textile printing, film transfer, pigment inks, and heat-press timing are connected to help you see how this technique fits with other fabric-decoration options.
DTF Transfers for Beginners: A Practical Guide to Direct-to-Film Printing
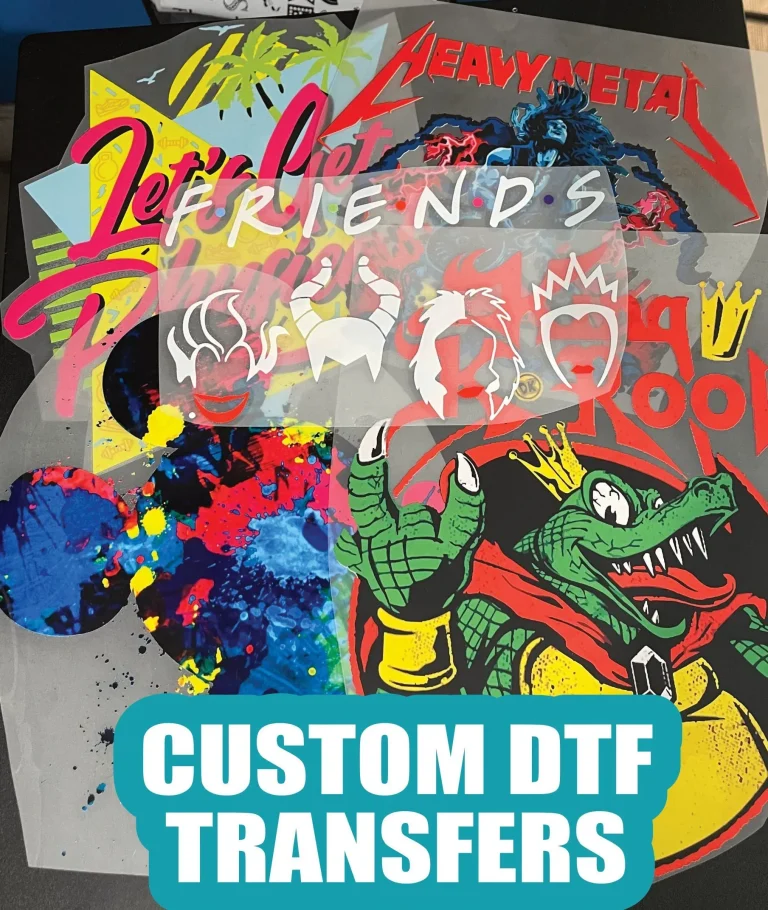
DTF transfers represent a versatile entry point for decorating garments, bags, and textiles. In the realm of DTF printing, the process uses a special film to carry pigment inks and adhesives, enabling full-color designs on a wide range of fabrics, including cotton, blends, and even dark textiles. This makes DTF transfers a practical option for beginners and seasoned crafters alike, offering the flexibility of direct-to-film transfers with relatively low setup costs. Understanding the basics—often referred to as DTF transfer basics—helps you achieve vibrant results with less complexity than some other methods.
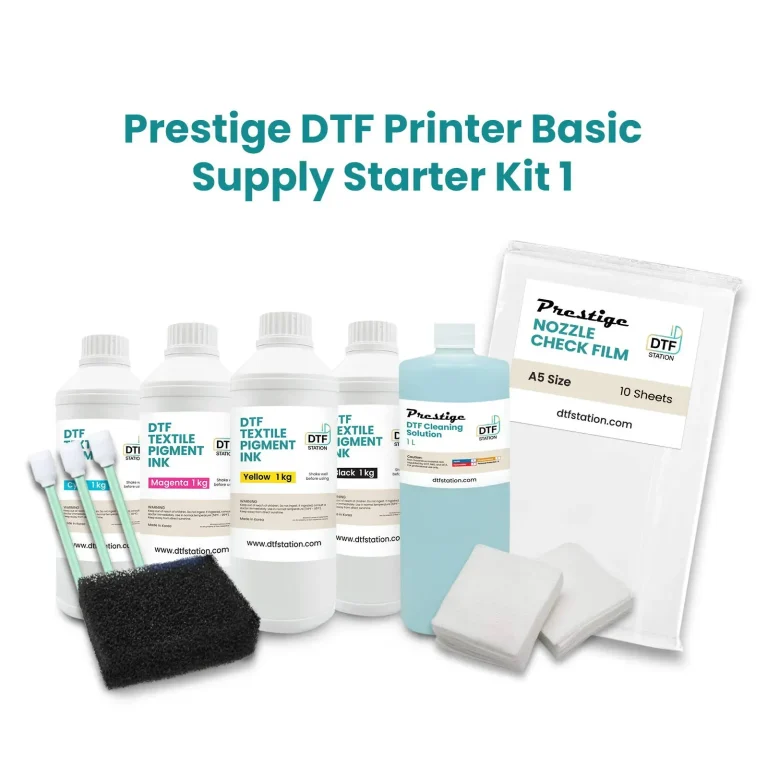
A typical beginner-friendly workflow starts with thoughtful design and ends with a finished garment. You’ll design or import artwork, print onto a PET transfer film with DTF inks, apply an adhesive powder, cure the powder, and then transfer using a heat press. Essential materials include DTF film and PET release film, reliable DTF inks, adhesive powder, and a heat press with even temperature control. Additional gear like a teflon sheet, clean workspace, and pre-press steps help ensure consistent results and a durable, long-lasting transfer.
DTF Printing vs DTG: Choosing the Right Method and Mastering Heat Press Tips for DTF
When deciding between DTF printing and DTG, it helps to weigh project requirements such as fabric variety, production volume, and total cost. DTF transfers tend to offer flexible fabric compatibility and lower setup costs, making them appealing for a wider range of textiles and smaller runs. In contrast, DTG can excel on certain high-end garments and may yield a softer hand feel in some scenarios. Understanding these dynamics—often discussed in terms of DTF vs DTG—helps you choose the right approach for your project while keeping long-term goals in view.
Heat press tips for DTF are essential for reliable results. Always follow the product and powder manufacturer guidelines for temperature, pressure, and dwell time, then validate with small test prints. Key practices include pre-pressing the garment to remove moisture, using protective sheets, and ensuring even contact across the design. Decide on hot-peel or cold-peel transfer according to the product you’re using, and have a plan for post-transfer care to maximize durability. These considerations align with general DTF transfer basics and help you optimize the process when comparing DTF printing to DTG.
Frequently Asked Questions
What are DTF transfers and how does direct-to-film printing work for beginners (DTF transfer basics)?
DTF transfers are designs printed on a PET transfer film with pigment inks and an adhesive powder, then bonded to fabric using heat and pressure. Direct-to-film printing involves designing your artwork, printing it onto the transfer film with DTF inks, applying adhesive powder, curing, and then transferring the design to garments with a heat press. This method supports full-color images on a wide range of fabrics, including cotton and dark textiles, and typically has lower setup costs than other methods—making it a popular entry point for beginners. A simple workflow includes design prep, printing on the film, powdering and curing, and transferring with proper aftercare.
What are essential heat press tips for DTF transfers and how do DTF transfers compare to DTG?
Key heat press tips for DTF transfers include pre-pressing the garment to remove moisture, mirroring the design for transfer, using the correct temperature, pressure, and dwell time per your film and powder guidelines, covering with a protective sheet, and allowing the transfer to cool before peeling as instructed (hot or cold peel). Ensure even adhesive powder coverage and proper curing for durability. Compared with DTG, DTF transfers generally offer lower upfront costs and broader fabric compatibility (including dark garments) with strong color results, while DTG can provide a softer hand-feel on certain fabrics and is often preferred for high-end, volume runs. Both require good color management and proper care to maximize wash durability.
| Aspect | Key Points |
|---|---|
| What are DTF transfers? | DTF transfers use a special film to carry pigment inks and an adhesive; the printed design is heat-transferred from film to fabric. They enable full-color, fine-detail designs on many fabrics (cotton, blends, dark textiles) with relatively low setup costs, making them accessible for beginners and crafters. |
| Direct-to-film printing how it works | Print design onto PET transfer film with carrier/adhesive inks, apply adhesive powder to the wet ink, cure/dry the powder, then transfer to fabric with a heat press (often with a protective sheet) for clean release. |
| Typical DTF printing workflow phases | Design preparation; Printing (color management/ICC); Powdering (adhesive powder); Curing and cooling; Transfer; Post-transfer care. |
| Materials and equipment | DTF film and PET release film; DTF inks; Adhesive powder; Printing system (DTF-capable printer + RIP); Heat press; Teflon/silicone sheets; Shirts/textiles (start with 100% cotton or blends); PPE and basic tools. |
| A step-by-step beginner-friendly workflow | 1) Prepare design; 2) Set right settings (temp, pressure, time); 3) Print on DTF film (mirror as needed); 4) Powder application; 5) Cure/dry; 6) Prepare garment (pre-press); 7) Transfer with heat/pressure; 8) Post-transfer care. |
| DTF transfer basics: key considerations for beginners | Color management accuracy; White underbase challenges on dark fabrics; Adhesive and curing quality; Fabric compatibility (test on scrap); Press temperature and dwell time consistency. |
| DTF vs DTG and other methods | DTF generally offers lower setup costs, broader fabric compatibility, and strong color reproduction for full-color designs; more forgiving on non-white fabrics. DTG can yield very soft hand-feel on high-end garments but may require more expensive equipment. |
| Care, maintenance, and durability | Pre-wash/post-wash care (inside-out, cold water); Drying (air or low heat); Avoid direct ironing on printed area; Check for peeling/cracking and re-press/reprint as needed. |
| Testing, quality control, and iteration | Start with small test batches; test on different fabrics; perform wear/test scratch durability; document settings and results to replicate success. |
| Cost considerations and practical tips for beginners | Budget for printer, inks, films, powders, heat press; look for starter bundles/promos; consider leasing/renting to test equipment; tips: build a basic color palette, test simple designs, expand gradually; keep spare powder and protective sheets. |
Summary
Table of key points about DTF transfers: DTF transfers use a pigment ink on a film with adhesive that is heat-transferred to fabric, offering vibrant, durable, full-color designs on many fabrics with relatively low startup costs. The workflow includes design prep, printing on PET film, powdering, curing, and heat-transfer with a press, followed by post-transfer care. Essential materials include DTF film, inks, adhesive powder, a compatible printer, RIP software, heat press, protective sheets, and appropriate textiles (starting with 100% cotton or blends). Beginners should follow a structured workflow from design to transfer, manage color properly, test on scrap fabrics, and iteratively refine settings. When choosing between DTF transfers and other methods (DTG, screen printing), consider volume, fabric variety, and cost per unit. Proper care and quality control extend transfer durability across washes, while budgeting and testing help minimize costs and optimize results. A thorough, beginner-friendly approach to DTF transfers can scale from hobby projects to small business orders with patience and practice.