DTF printing blends digital design with fabric, combining transfer-friendly versatility with the vibrant color reach of modern inkjet technology. In the DTF printing process, a specialized PET film carries the artwork while white and color inks build a bright, durable image for a wide range of fabrics. This approach, also called direct-to-film printing, uses a heat-activated adhesive powder after printing to anchor the image to the fabric. The final step is a precise DTF film transfer where heat and pressure from a platen embed the design into the textile, delivering a durable finish. DTF inks, including a white underbase and CMYK colors, enable strong color on light and dark fabrics, making DTF printing on fabric a versatile choice for apparel and beyond.
Seen through an alternative framing, this technology is a film-to-fabric transfer that uses a PET film as the carrier and a heat-activated adhesive to lock designs into textiles. In practice, the workflow relies on a white underbase and color inks layered onto the film, followed by a powder adhesion step and a controlled heat press to achieve durable, soft-hand finishes. This digital textile transfer approach supports on-demand printing across a wide range of fabrics and product types, from apparel to bags. With careful testing and calibration, practitioners can optimize heat, pressure, and timing to suit different materials.
DTF Printing Process: From Film to Fabric
DTF printing, or direct-to-film printing, uses a PET film as the carrier to move designs from digital files to textiles. The process relies on DTF inks, including a white ink layer for opacity on dark fabrics, and culminates in a film transfer that embeds the image into the fabric with vibrant color and a durable hand feel. Understanding the core workflow—printing on the DTF film, applying adhesive powder, curing, and transferring with heat—helps designers optimize outcomes across many fabric types.
This overview also highlights how the DTF printing process enables rich color reproduction through white ink and color inks, leveraging the capabilities of direct-to-film printing to achieve sharp detail on both light and dark materials. The concept of DTF film transfer is central: once the film carries the design, heat and pressure ensure a lasting bond, distinct from direct-to-garment approaches and traditional screen printing.
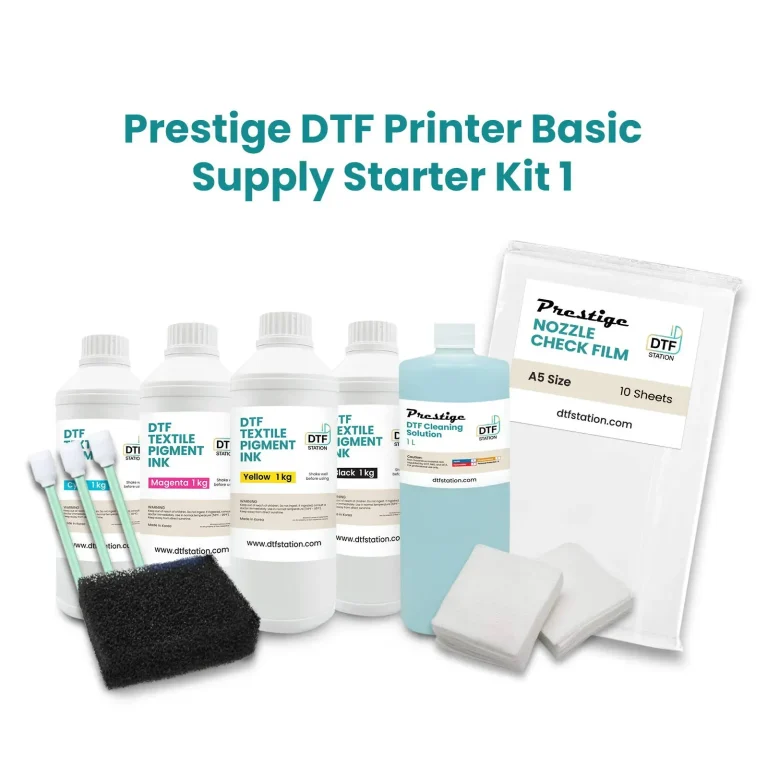
Essential Materials for DTF Printing: Films, Inks, and Adhesive Powder
The backbone of DTF printing is the combination of DTF film (PET film) and DTF inks. The white ink layer provides critical opacity, enabling bright colors on dark fabrics, while the color inks reproduce the image with fidelity within the direct-to-film workflow. Selecting high-quality DTF film and properly formulated DTF inks is essential for edge definition, color density, and wash durability.
Adhesive powder is applied to the printed film to create a transferable layer that bonds to fabric during heat. The curing system then fixes the powder so the transfer remains uniform and durable. A capable printer with DTF capability and a reliable heat press are also key ingredients, ensuring consistent results from film to fabric across multiple jobs.
Color Management and White Underbase in DTF
Successful DTF printing hinges on meticulous color management. Artwork is prepared with CMYK separation and a digital white underbase to ensure vivid results, especially on dark fabrics. Using RIP software helps convert artwork into separations that the DTF inks can replicate faithfully, aligning with the direct-to-film process to produce consistent color across repeats.
For dark textiles, a strong white underbase remains essential to prevent color dulling after transfer, while light fabrics benefit from balanced white coverage to preserve brightness. Thoughtful color strategy, substrate testing, and careful resolution selection reduce artifacts, enabling clean gradients and crisp edges when performing DTF printing on fabric.
The Heat Transfer Phase: Settings for Durable DTF Film Transfers
The transfer phase relies on a heat press with controlled temperature, pressure, and dwell time. Typical settings fall around 160–180°C for 15–25 seconds, followed by a hot- or cold-peel depending on adhesive formulation and curing method. Accurate heat application is essential for a robust DTF film transfer that resists cracking and fading through wash cycles.
Because fabrics vary in heat tolerance, shops often run test prints to dial in the exact parameters for each material. Post-transfer steps, including a brief post-press cure, help maximize adhesion and wash fastness, ensuring the final DTF printing on fabric remains vibrant after extensive use.
Post-Processing, Care, and Wash Durability for DTF Prints
After the transfer, post-processing and care steps safeguard the print. A warm cure and proper cooling help stabilize adhesion, and avoiding high-heat tumble drying preserves color and texture. Clear washing guidance—turning garments inside-out and washing in cool water—extends the longevity of DTF inks and the adhesive bond.
Final quality checks, trimming, and finish enhancements complete the workflow. Following fabric-specific care recommendations ensures that DTF printing retains its vibrancy and durability across a wide range of garments and applications.
Troubleshooting and Quality Assurance in DTF Printing
Common issues like an uneven white underbase, powder shedding, or edge halos can arise if ink loading, powder distribution, or curing conditions aren’t tuned. Solutions include refining white ink coverage, ensuring clean film surfaces before printing, and adjusting curing temperatures to prevent ink scorching or powder shedding during the transfer.
Ongoing calibration, test prints, and standardized procedures help ensure reproducibility. Regularly reviewing design preparation, film handling, powder application, and heat transfer parameters provides a reliable quality assurance framework for DTF printing on fabric, reducing surprises and improving consistency across runs.
Frequently Asked Questions
What is the DTF printing process and how does it move designs from film to fabric?
DTF printing process uses a PET film as the carrier, prints with DTF inks including a white underbase, applies adhesive powder, cures it, and transfers the design to fabric with heat. This direct-to-film printing workflow—often called DTF film transfer—produces vibrant images with strong durability on many fabric types.
How does direct-to-film printing differ from DTG printing on fabric?
Direct-to-film printing places the design on a PET film first, then transfers it to fabric with heat, whereas DTG prints the image directly onto fabric. DTF printing on fabric offers a robust white underbase for dark textiles, broader fabric compatibility, and often a simpler setup for small runs.
What role do DTF inks play in color vibrancy and wash durability when printing on fabric?
DTF inks include white and color inks designed for a water-based system; the white ink underbase helps colors pop on dark fabrics, while the color inks deliver bright, durable images. Proper curing and wash testing maximize longevity in DTF printing on fabric.
What is DTF film transfer and how is adhesive powder used in the process?
DTF film transfer refers to printing on a PET film, applying hot-melt adhesive powder, curing, and then using heat to bond the image to fabric. Powder coverage and proper curing are critical to uniform adhesion and a clean transfer in DTF printing.
Which fabrics work best with DTF printing on fabric and what heat press settings are typical?
DTF works well on cotton, polyester blends, and many other fabrics; test on a sample to dial in heat and time. Typical settings run around 160–180°C for 15–25 seconds with appropriate pressure, but adjust for fabric type and adhesive.
What are common issues in DTF printing and how can I troubleshoot for better results (white underbase, powder adhesion, wash-fastness)?
Common issues include uneven white underbase, powder shedding, cracking after washing, and color fading. Fixes: verify white ink loading and alignment, ensure even powder coverage and proper curing, adjust heat and dwell time, and follow wash guidelines to protect print longevity.
| Aspect | Key Points |
|---|---|
| Introduction | DTF printing moves digital designs to fabrics using a PET film, white ink, adhesive powder, and heat, offering versatility, vivid color, and durability across many fabrics. |
| What is DTF Printing? | Digital textile printing on PET film; transfers use adhesive powder and heat. Delivers vibrant images with strong hand feel and durability; supports white ink for bright results on light/dark fabrics; favors color fidelity and workflow simplicity vs some methods. |
| Step 1 — Design and Color Management | Use CMYK plus white ink; essential color management; use RIP to create separations; digital white underbase; set resolution and print mode for accuracy. |
| Step 2 — Printing on DTF Film | Print on PET film with white and color inks; white underbase helps on dark fabrics; allow film to dry; film carries the image for the adhesive transfer. |
| Step 3 — Powder Adhesive Application | Apply a uniform layer of hot-melt adhesive powder with a shaker; balance is key to avoid poor adhesion or texture issues. |
| Step 4 — Curing the Powder onto the Film | Cure the powder to fix it to the ink; control temperature/time to avoid scorching and ensure a durable bond. |
| Step 5 — Transfer to Fabric with Heat | Place the film on fabric, use a heat press (roughly 160–180°C for 15–25s); peel hot or cold per adhesive; timings vary; test prints recommended. |
| Step 6 — Post-Processing and Care | Post-press curing and proper washing care extend durability: turn inside-out, cool water wash, and low-heat drying help preserve vibrancy. |
| Materials and Equipment | DTF film, DTF inks (white + color), hot-melt adhesive powder, shaker, curing system, DTF-capable printer, heat press, fabrics/pre-treatments, post-cure/testing. |
| Choosing Fabrics and Colors | Works across many fabrics: light cottons for vibrant colors; dark fabrics need strong white underbase; synthetics possible with adjusted temps; plan color separations and high-resolution prints; ensure white text on dark has solid underbase. |
| Cost, Efficiency, and Practical Considerations | Good for small runs and on-demand; films can be reused; broad fabric compatibility expands offerings; costs include film, powder, and equipment; optimization keeps cost-per-unit competitive. |
| Common Issues and Troubleshooting Tips | White underbase issues; powder shedding; cracking/peeling after wash; fading colors; edge artifacts; rely on tests, proper curing, and calibration. |
| DTF Printing vs Other Methods | Flexible workflow for variable data and small runs; high resolution and wide color gamut; white underbase supports vivid prints on dark fabrics; scalable with less setup compared to screens; evaluate project needs. |