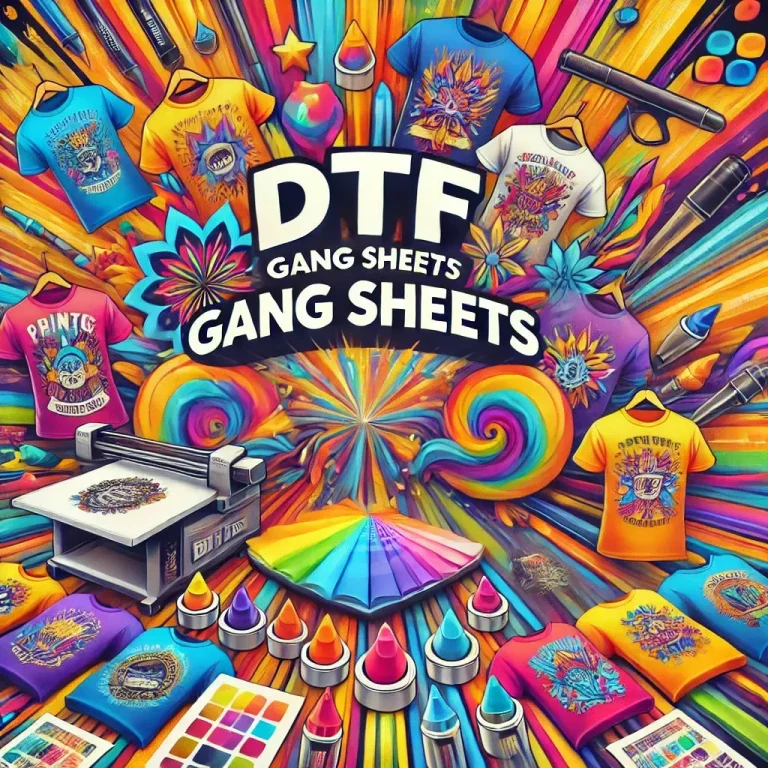
DTF gangsheet builder can dramatically boost efficiency, consistency, and profitability in your studio. When the tool integrates with DTF printing workflows, it speeds production, reduces waste, and improves color accuracy across the entire studio workflow. A well-chosen builder supports collaboration between design, printing, and fulfillment teams, ensuring everyone stays in sync with gangsheet design workflows. It should work with your existing DTF printer compatibility and RIP software, offering templates, batch processing, and reliable export formats. By aligning with your growth plans and current setup, this solution becomes a backbone for scalable, high-quality output.
Consider this as a planning tool for direct-to-film projects that helps studios coordinate multiple designs on a single sheet, boosting efficiency. Think of it as a sheet-assembly engine for fabric transfer designs that aligns artwork with production steps, ensuring predictable output. By focusing on layout optimization, template support, and color accuracy, the platform supports print shop automation and smoother studio workflow. Whether you call it a gangsheet generator, a layout engine, or a production toolkit, the goal remains faster iterations, less waste, and reliable, market-ready results.
Maximizing Efficiency with a DTF gangsheet builder
Maximizing efficiency with a DTF gangsheet builder starts with smart layout optimization. In DTF printing, packing multiple designs onto a single sheet reduces waste, speeds up production, and helps maintain consistent color reproduction. A good gangsheet design tool offers grid-based placement, automatic rotation, margins, bleed controls, and safe zones so your final prints land where you expect on fabric or substrates.
Beyond layout, such a builder accelerates collaboration between design, production, and fulfillment. Batch processing, automated paging, and export-ready files streamline workflows and support print shop automation. With reliable color management, ICC profiles, and soft-proof previews, teams can preview and verify output before hitting the printer, reducing misprints and wasted material.
DTF gangsheet builder: aligning with studio workflow and printer compatibility
Selecting a DTF gangsheet builder that fits your studio workflow means considering how teams interact, where files are stored, and how projects move from concept to production. Look for template support, non-destructive editing, and multi-user access so designers can iterate quickly without overwriting originals, while production can review and approve changes in real time.
Compatibility with your specific printers and RIPs is essential. Ensure the tool can export print-ready files with embedded color profiles and supports your preferred formats for seamless integration into your workflow. Also evaluate how the vendor handles updates and support to maintain DTF printer compatibility as hardware evolves and to keep your studio aligned with ongoing automation benefits.
Frequently Asked Questions
What is a DTF gangsheet builder and how can it improve studio workflow and print shop automation?
A DTF gangsheet builder is a software tool that creates gang sheets for direct-to-film printing, streamlining gangsheet design and layout across multiple designs. By automating layout, batch processing, and queueing, it speeds production, reduces material waste, and enhances studio workflow and print shop automation. It also improves color management with ICC profiles and compatible export formats that work with your RIP and DTF printer, delivering consistent output and easier collaboration between design, printing, and fulfillment teams.
What should you check about DTF printer compatibility when choosing a DTF gangsheet builder?
Ensure the builder supports your DTF printer and RIP, can export print-ready files in compatible formats, and can communicate with your firmware and drivers. Look for accurate color mapping, soft proofing, and ICC profile support to maintain color accuracy in DTF printing. A strong option also aligns with your studio workflow by offering templates, non-destructive editing, and batch export that fit your hardware ecosystem.
| Key Point | What It Means | How to Evaluate / Tips |
|---|---|---|
| Layout flexibility and optimization | Maximizes sheet space across designs; supports grid-based placement, rotation, spacing, margins, bleed, safe zones; accommodates different garment sizes on one sheet; uses smart packing to increase output with quality intact. | Look for grid control, automatic rotation, margin/bleed/safe-zone settings, and visible packing efficiency. Test with mixed garment sizes to verify no quality loss. |
| Template support and non-destructive editing | Supports reusable templates for recurring products and sizes; enables editing without changing original artwork; maintains consistency across collections. | Check for template libraries, non-destructive editing, and easy template updates. Run a quick promo or limited edition test to confirm consistency. |
| Color management and accuracy | Ensures colors translate accurately from digital designs to prints; supports color profiles, soft proofing, and ICC mapping. | Verify ICC/profile support, soft-proof previews, and accurate gamut mapping. Do test prints for critical colors before committing. |
| Batch processing and automation | Automates repetitive tasks such as imports, exports, and pagination; supports queuing and scheduling to scale production without adding headcount. | Assess batch import/export, pagination features, and workflow automation. Run a full production run to measure time savings. |
| Printer compatibility and RIP integration | Works with your specific DTF printers and RIP software; exports common formats and integrates with color management in the RIP. | Confirm printer/RIP compatibility, supported export formats, and driver requirements. Test with your actual printer setup. |
| Export formats and file management | Offers multiple export options (print-ready files, color channels, margins), supports batch naming, and integrates with cloud or local archives. | Check for multiple export options, naming conventions, and archive integration. Validate file integrity after export. |
| Usability and learning curve | Interface usability matters; some tools are feature-rich but have steep onboarding; easier tools yield faster ROI. | Evaluate UI intuitiveness, onboarding quality, and available tutorials. Run a short training session to gauge speed to competence. |
| Collaboration and permissions | Supports team collaboration with role-based access, audit trails, and shared spaces to reduce miscommunication and QA issues. | Test access controls, project sharing, and change tracking. Confirm workflow handoffs between design and production are smooth. |
| Deployment model and cost of ownership | Desktop, cloud-based, or hybrid options; consider subscription vs perpetual licenses and long-term maintenance costs. | Compare upfront license fees, ongoing subscription costs, and expected ROI over 3–5 years; weigh collaboration benefits of cloud vs on-premise. |
| Support and updates | Vendor updates for features, security, and printer compatibility; assess response times and availability of knowledge bases or forums. | Review support SLAs, update cadence, and community resources. Probe via demos or trial support interactions. |
| Studio needs assessment (how to decide) | Clarify current and future needs: volume growth, team size, printers/RIPs, templates, cloud vs local, and budget alignment. | Use targeted questions to map requirements before shortlisting vendors; document must-have vs nice-to-have features. |
| Practical selection workflow (how to choose) | Define requirements, shortlist candidates, request trials, run standard production tests, evaluate total cost of ownership, and check vendor support. | Follow a structured workflow with real-world tests to reveal edge cases and ensure alignment with your studio processes. |