DIY DTF at Home has become a practical and creative way for makers to produce vibrant, durable designs without stepping into a commercial lab. When you explore DTF printing at home, you can compare direct-to-film at home workflows with traditional home heat transfer methods and still achieve professional-grade results. A well-planned DTF at home setup ensures consistent colors, reliable curing, and a clean transfer that lasts through repeated washes. This guide shares step-by-step workflows and troubleshooting tips so you can master DTF troubleshooting while keeping costs in check. With attention to equipment, materials, and color management, the home workflow can deliver vibrant results across cotton and blends.
In practical terms, this is an at-home film transfer workflow that blends art, science, and accessible equipment. Think of it as a self-contained garment decoration process that uses transfer films, pigment inks, and a heat press to transfer bold designs onto cotton, blends, or synthetics. A well-structured at-home approach relies on repeatable steps, precise color management, and careful curing to ensure long-lasting finishes. From the perspective of search intent, topics like setup, troubleshooting, calibration, and finishing become natural companions to creative guidance for makers working outside a professional lab. In practice, experimentation with test swatches, documented results, and gradual process refinements guides you toward reliable, repeatable outcomes.
DIY DTF at Home: Building a Practical Setup for Direct-to-Film Printing
DIY DTF at Home offers a practical path for makers to create vibrant, durable prints without a full commercial lab. A well-planned home setup can rival professional results when you balance equipment, materials, and workflow. By designing a dedicated space with dust control, proper ventilation, and a stable power supply, you set the foundation for consistent outcomes across many runs.
In this approach, the emphasis is on repeatable processes and predictable results. A basic home DTF setup prioritizes reliable temperatures, clean working conditions, and a streamlined sequence—from design to film printing, powdering, curing, and final transfer. With careful planning, you can deliver high-quality prints on apparel and textiles while keeping costs manageable and maintaining the DIY spirit.
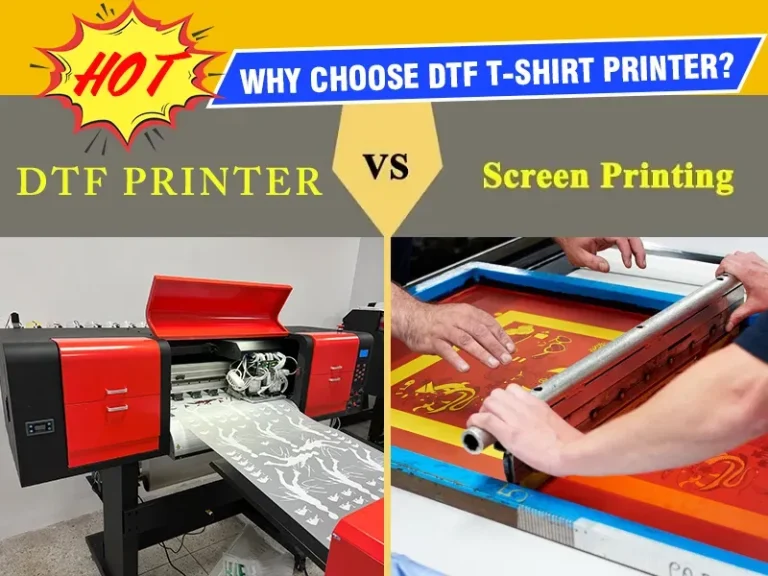
DTF Printing at Home: Core Concepts and Material Choices
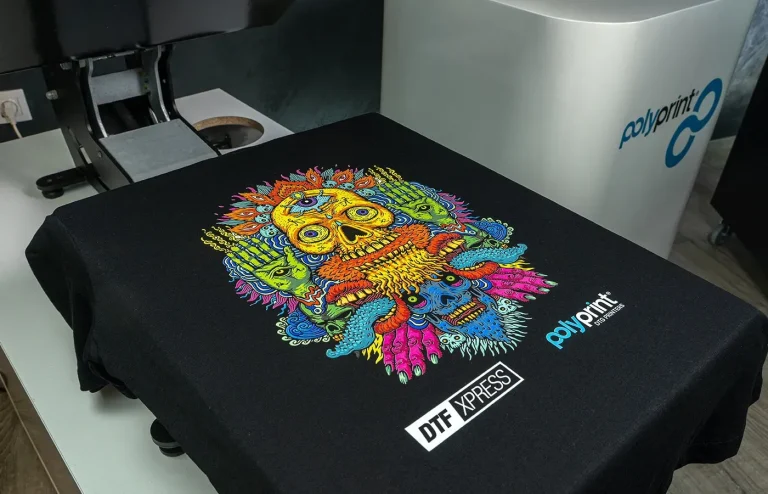
Direct-to-Film (DTF) printing at home centers on printing artwork onto a transparent or translucent film, applying adhesive powder, curing, and transferring the image to fabric. This workflow—film printing, powdering, curing, and heat pressing—offers a wide color gamut, soft hand feel, and compatibility with a broad range of fabrics, including cotton and blends.
When you treat it as a home project, you’ll focus on choosing compatible printers, inks, films, and powders, plus a reliable heat source. Understanding the material science behind the powder coat, film release, and curing behavior helps you troubleshoot and optimize color fidelity, transfer reliability, and fabric compatibility in a home environment.
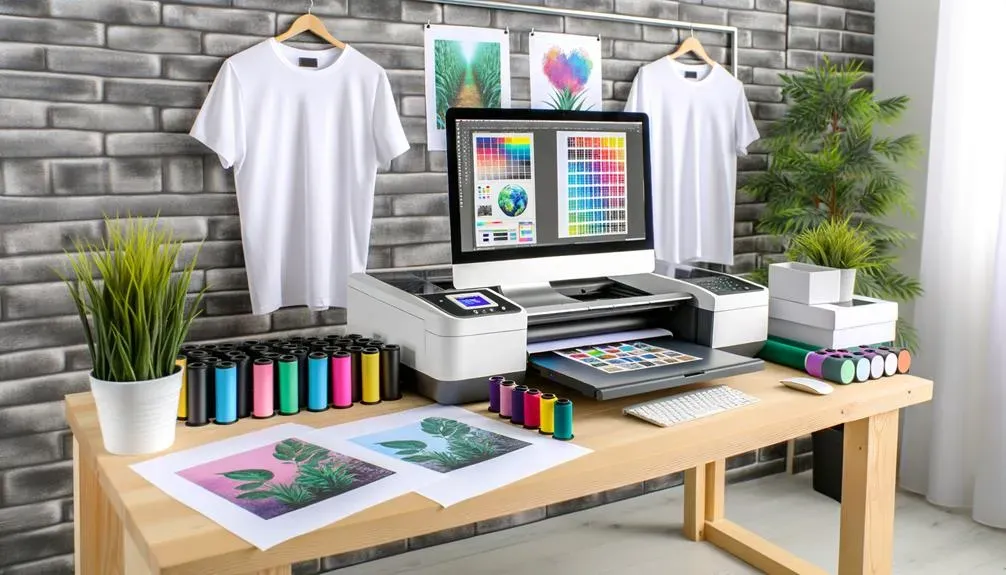
DTF at Home Setup: Equipment, Films, and Powders for Consistent Results
A reliable home DTF operation hinges on selecting a printer configured for DTF films, high-quality PET transfer films, and consistent adhesive powder. In this setup, profile management and ink compatibility drive color accuracy and repeatability, making it easier to reproduce designs across batches.
Key components include a temperature-controlled heat press, a curing or drying station, and substrates suited to your target fabrics. Starting with cotton or cotton blends helps you dial in timing and heat before expanding to other textiles. By documenting settings and materials for each run, you create a repeatable workflow that minimizes variables and enhances long-term consistency.
Direct-to-Film at Home: Design, Color Management, and Workflow
Designing for direct-to-film at home means preparing artwork with color-accurate profiles and considering how large color spaces translate to film. Vector-based or high-resolution raster artwork, along with deliberate bleed, margins, and white underbase where needed, frames what prints will look like on various fabrics.
Color management is central to predictable results. Calibrated monitors, printer profiles, and substrate-specific test swatches allow you to compare screen and print outputs and adjust ink usage accordingly. A disciplined workflow—from design through film printing, powdering, curing, and transfer—helps reduce surprises and waste while delivering consistent color and density across projects.
Home Heat Transfer Methods: Transfer Process, Temperature, and Substrates
The transfer step is where the accumulated setup, design choices, and materials meet the fabric. A typical home workflow uses a heat press with precise temperature control and even platen pressure to apply heat and adhesive-coated film to the fabric. Correct dwell times and pressure ensure ink adhesion and film release without scorching or cracking.
Selecting substrates thoughtfully—starting with cotton and its blends, then testing synthetics—lets you tune the timing and heat for each material. Understanding home heat transfer methods in practice means balancing temperature (often around 180–205°C), pressure, and time to achieve durable bonds and clean edges while preserving fabric hand feel.
DTF Troubleshooting and Quality Control: Managing Common Issues and Continuous Improvement
Quality control in DIY DTF at Home involves standardizing temperatures, times, and pressures, then logging substrates, film batches, powder types, and post-transfer results. A simple SOP keeps your workflow predictable and aids in reproducing successful results across multiple runs.
Common challenges—such as color fading, powder adhesion, transfer peels, misalignment, or sticky surfaces—benefit from targeted troubleshooting steps. Systematic checks, additional test swatches, and iterative tweaks to ink profiles, powder thickness, and curing duration help you diagnose root causes and steadily improve the quality of your home-based prints.
Frequently Asked Questions
What is DIY DTF at Home, and how does it work within DTF printing at home processes?
DIY DTF at Home is a home-based, repeatable workflow for creating designs on textiles using a direct-to-film process. It involves design prep, film printing, adhesive powder application, curing, and heat transferring onto fabric, delivering vibrant colors and a soft hand. The approach mirrors professional DTF printing but is optimized for a controlled home workspace with careful equipment setup and quality materials.
Which equipment do I need for a successful DTF at home setup?
Essential equipment for a successful DTF at home setup includes: a printer configured for DTF films with compatible inks and color profiles; high-quality DTF transfer film; adhesive powder; a curing station or reliable heat source; a heat press with even temperature and pressure; compatible substrates (start with cotton or cotton blends); and finishing supplies (lint roller, clean gloves, protective sheets). Good ventilation and dust control are also important in a practical DTF at home setup.
How do I troubleshoot common issues in DIY DTF at Home, such as color fading or powder adhesion?
Common issues in DIY DTF at Home and quick fixes: Color fading can be addressed by verifying the ink quality, printer profile, and ensuring a proper white underbase when required; Powder not sticking often means insufficient or uneven coverage—reapply with a consistent thickness and increase cure time if needed; Transfers that peel or crack usually indicate insufficient pressure, incorrect dwell time, or fabric mismatch—adjust settings and test; Off-grain transfers can be mitigated by using alignment guides and tape; Sticky surface after transfer usually means the curing step wasn’t thorough—re-cure or adjust film and adhesive. In DTF troubleshooting terms, these steps help you diagnose and fix issues quickly.
What is the ideal workflow for DIY DTF at Home, from design to transfer, including direct-to-film at home steps?
Ideal workflow: 1) Prepare the artwork in a vector or high-res format with color profiles; 2) Print onto DTF film using your chosen printer; 3) Apply adhesive powder evenly; 4) Cure the powder to fix it; 5) Prepare the transfer by aligning with the substrate; 6) Transfer with heat and pressure according to film/substrate specs; 7) Let cool, inspect, trim edges, and perform touch-ups. Document results and keep test prints to support a repeatable direct-to-film at home process.
How can I maintain color accuracy in DIY DTF at Home and throughout DTF printing at home workflows?
To maintain color accuracy in DIY DTF at Home, start with a calibrated monitor and reliable ICC color profiles; print test swatches on the same substrate you’ll use for final products and compare to ensure consistency; adjust the printer profile and ink usage as needed; plan for a white underbase when printing on dark fabrics; maintain consistent materials and settings batch to batch to minimize drift. This is essential for reliable DTF printing at home results.
What safety and workspace considerations should I follow for DIY DTF at Home, including home heat transfer methods?
Safety and workspace: ensure adequate ventilation when printing inks and powders; wear a mask when handling powders; keep the workspace tidy with labeled containers for powders and films; store materials away from heat sources; follow heat press safety guidelines to prevent burns and fires; clean up thoroughly after each session to maintain print quality in future projects. When using home heat transfer methods, follow manufacturer temperatures and avoid overheating.
| Aspect | Key Points |
|---|---|
| Introduction | DIY DTF at Home enables vibrant, durable designs at home; can rival professional results with the right setup; covers equipment, workflows, and troubleshooting to achieve consistent prints on apparel and textiles. |
| What is DTF Printing at Home? | Direct-to-Film transfers involve printing onto a clear film, applying adhesive powder, curing, and heat pressing onto fabric; steps include design prep, film printing, powdering, curing, and transfer. Benefits include wide color gamut, soft hand, and compatibility with cotton, blends, and some synthetics. |
| Equipment & Materials | Printer configured for DTF films; DTF transfer film; adhesive powder; curing station or heat source; heat press with temperature control; suitable substrates (cotton or blends); finishing supplies like lint roller and gloves. |
| Designing for DIY DTF at Home | Create bold, high-contrast artwork; plan bleed and margins; build in white underbase for dark fabrics; choose color spaces suitable for wide gamuts; preview color separations before printing. |
| Color Management | Calibrated monitor, reliable color profiles, and repeatable printer settings. Print test swatches on the same substrate and adjust profiles to minimize color shifts. |
| Step-by-Step Guide | Prepare artwork; print on film; apply adhesive powder; cure powder; prepare transfer; transfer with heat/pressure; post-transfer finishing. |
| Quality Control | Create a standard operating procedure (SOP) for temps, times, and pressures; keep batch logs tracking substrate, film, powder, heat, and results. |
| Common Challenges & Troubleshooting | Fading colors; powder not sticking; transfer peels or cracks; off-grain transfers; sticky surface; apply fixes by tweaking ink, powder, heat, and pressure. |
| Safety & Workspace | Ensure ventilation; wear masks when dealing with powders or solvents; keep workspace tidy; store materials safely; clean up after sessions. |
| Maintenance & Upgrades | Regular printer/ink maintenance; test new films and powders; calibrate heat press; consider automation to improve consistency. |
| Final Thoughts | DIY DTF at Home opens creative possibilities for small brands and hobbyists. A repeatable workflow and ongoing optimization help you produce reliable, vibrant designs at home. |
Summary
DIY DTF at Home transforms how makers turn ideas into wearable products by enabling vibrant, durable designs right in a home workspace. With careful equipment selection, rigorous color management, and a repeatable workflow, DIY DTF at Home delivers professional-like results on a range of fabrics while keeping costs manageable. The process emphasizes planning, quality control, and troubleshooting, empowering hobbyists and small brands to iterate quickly and scale as demand grows. By treating each print as a crafted project—documenting settings, refining techniques, and learning from every transfer—home-based DTF can rival commercial outputs and unlock new creative opportunities for apparel, accessories, and personalized gifts. Embrace the craft, stay safe, and continually optimize your setup to expand your DIY DTF at Home capabilities.